
Before you start diving into the features and data of the SISTRIX Toolbox, it’s important to set up some basic options for your account. This will make your everyday work easier and avoid unnecessary time waste afterwards.
The starting point for this tutorial is the menu that you find in the top right corner of the tool.
Just log into your account and hover the mouse over your profile icon to see the menu. In this tutorial, we’ll only cover the account and billing details. To know more about the other options, please read the tutorial “The SISTRIX Account Settings – What are they for?“.
Step 1 – Account-Settings
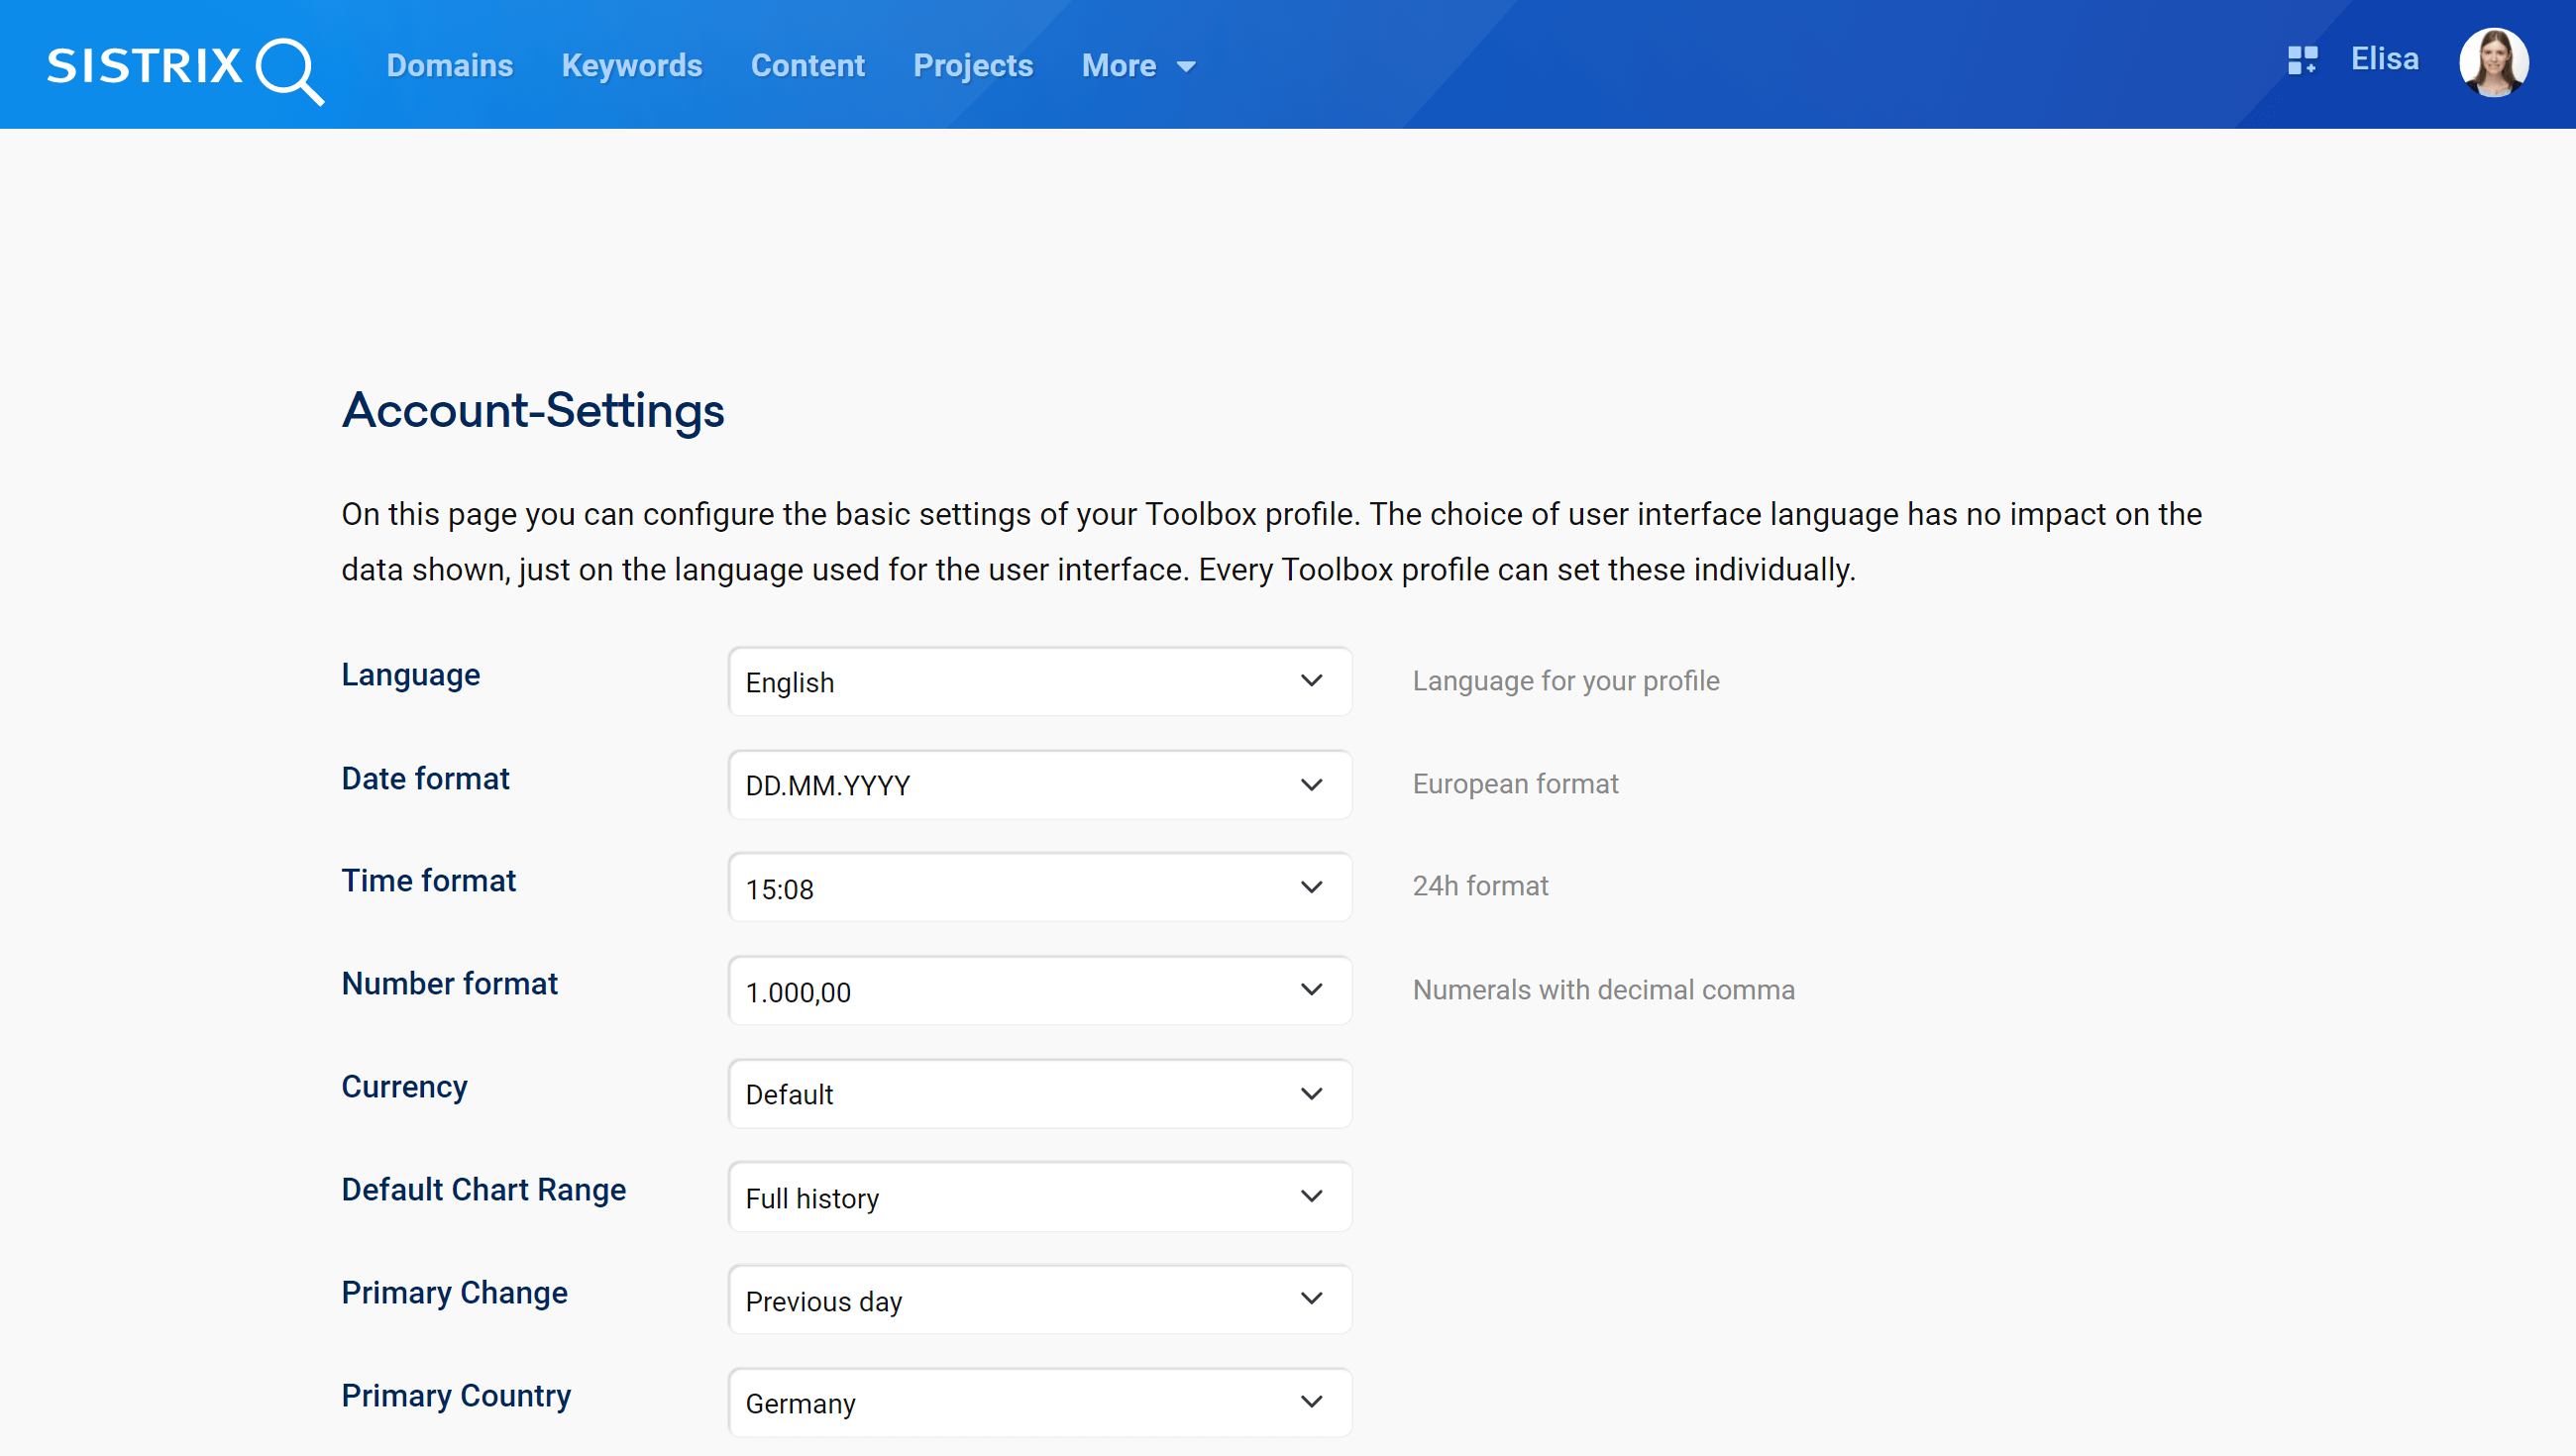
The first menu item is the “Account-Settings“, where you can manage the general preferences for your account. If your colleagues are also using the tool with their own profiles, they’ll be able to adjust these settings according to their personal needs.
Start by choosing the language for your profile 1. Remember that the language refers only to the Toolbox interface.
The item “Primary Country” gives you the possibility to set a default country for your evaluations 2. This specific country will automatically be set as standard every time you analyse a domain or a keyword in the Toolbox.
Setting these two features right is especially useful for international projects. For example, if your mother tongue is English but you work on projects which target the German market, you can set up your profile in English but your primary country as “Germany”. Every time you look for a domain in the search bar, the tool will automatically consider the German database for the analysis, while the interface will still be in English.
On this page you’ll find other general options, like the date, time and number format, or the currency.
Step 2 – User Management
If you booked the Plus, Professional or Premium package, you can use the Toolbox with other colleagues of your company at the same time. To know more about this topic, please read our support pages.
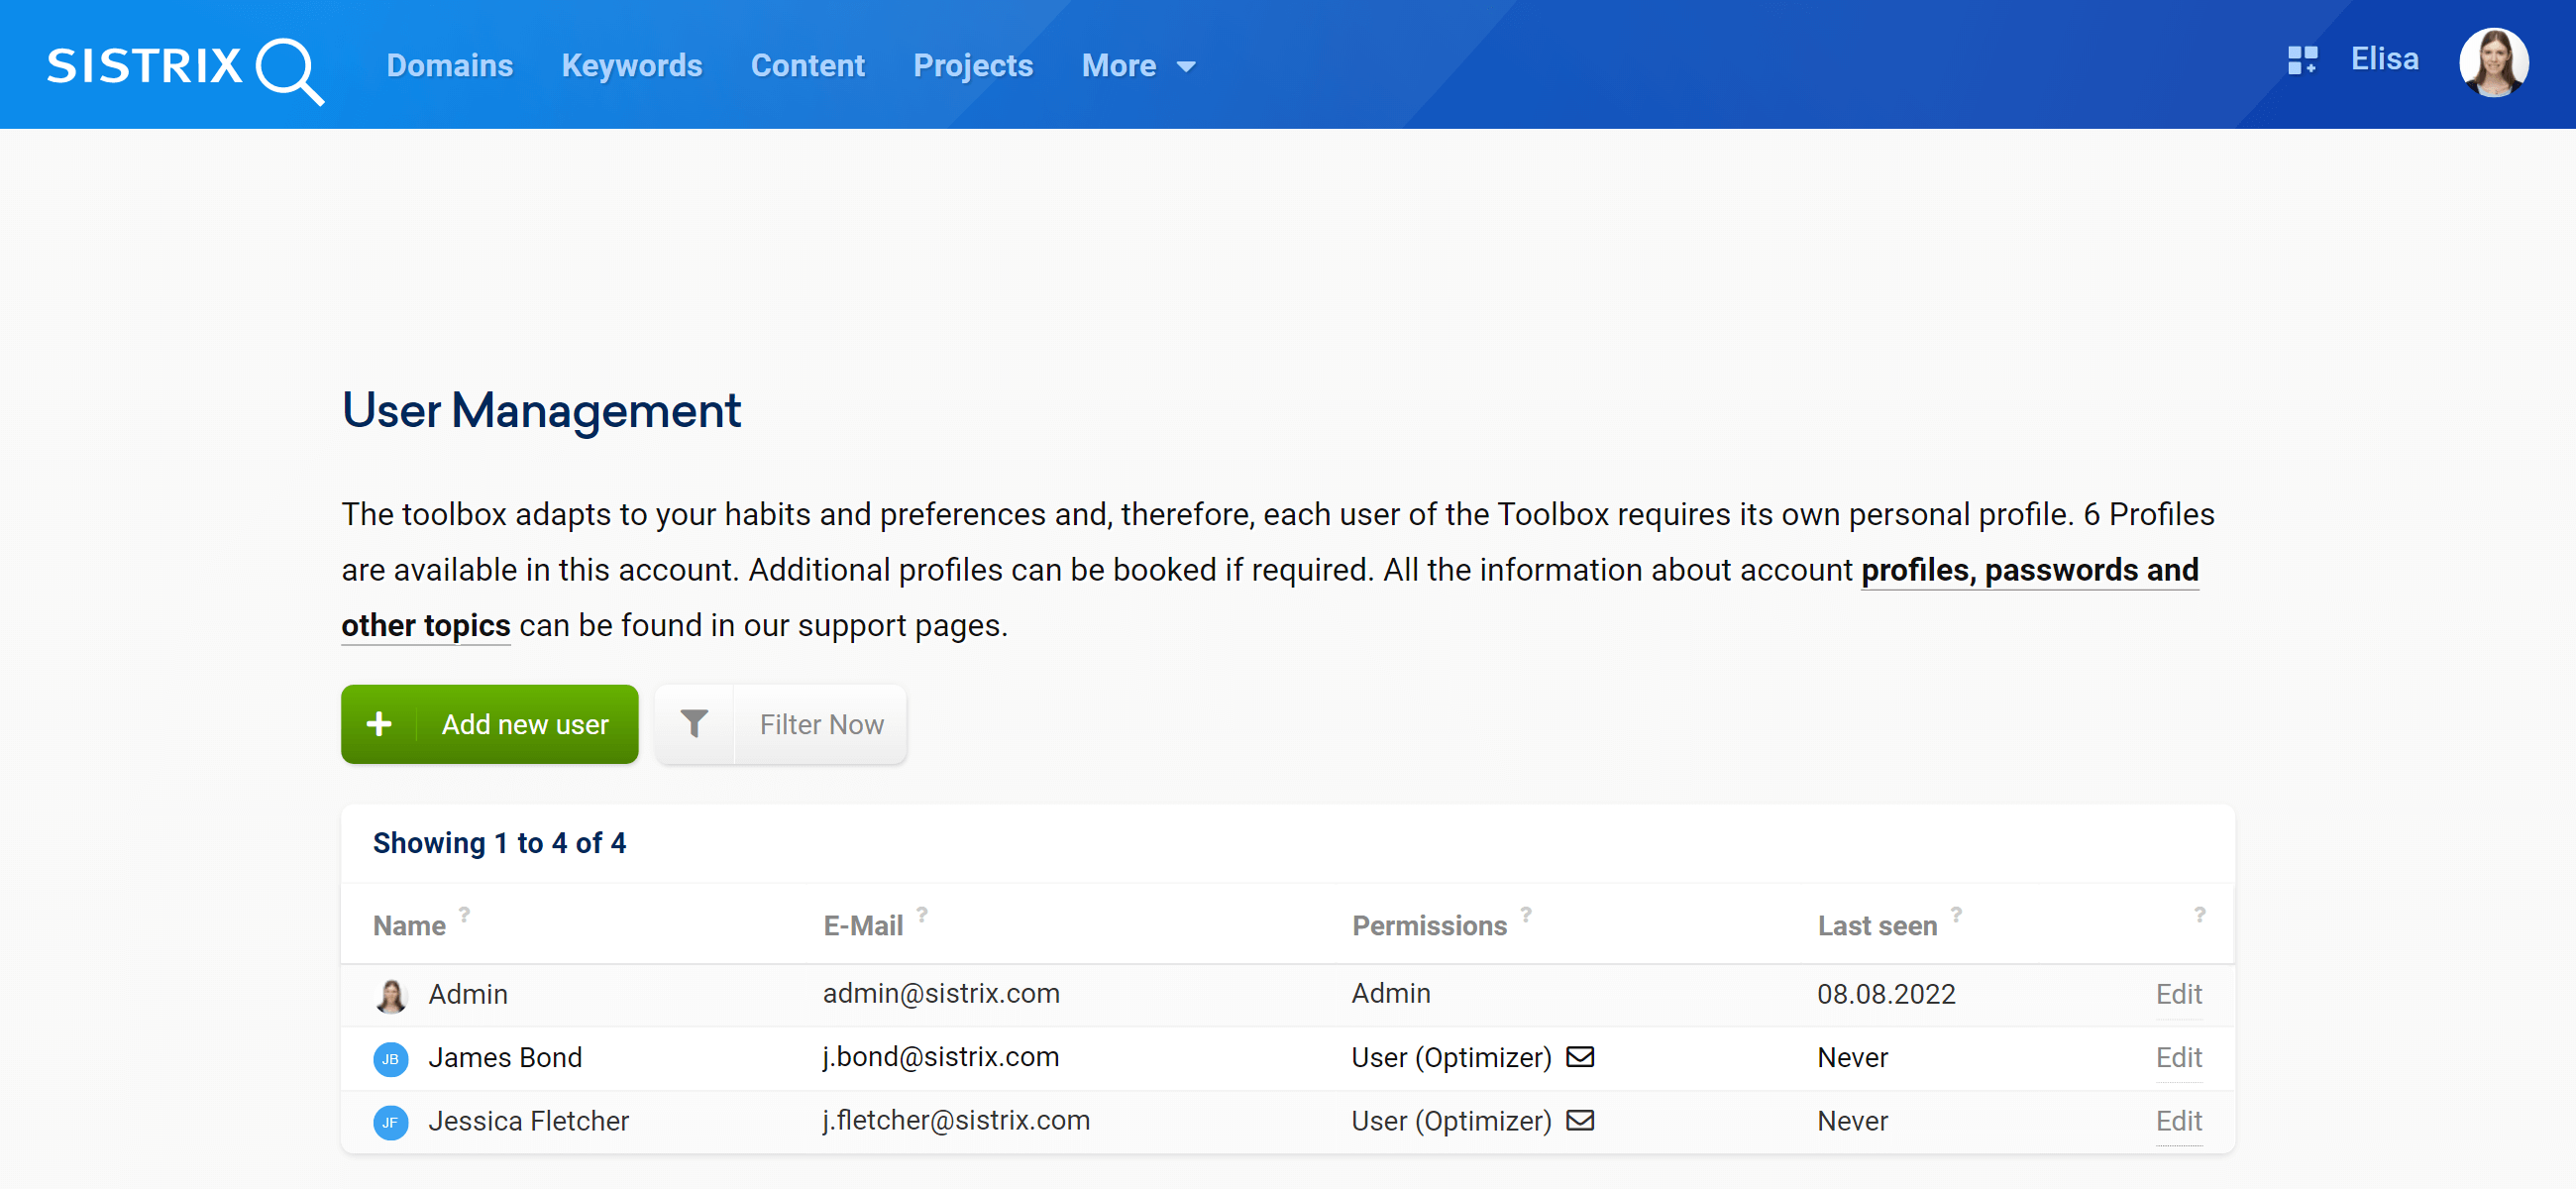
As the main user for your account, you can add new profiles in the user management or edit and delete current ones.
Adding a new profile is very easy: click on the green button “Add new user” and enter the name, surname and email address of your colleague 1. If you don’t see this option in your account, the support team will be happy to activate it for you.
After the profile has been added, it will appear in the list below. Click on the item “Edit” right next to the profile to change its settings or deactivate it 2.
Step 3 – Billing Details
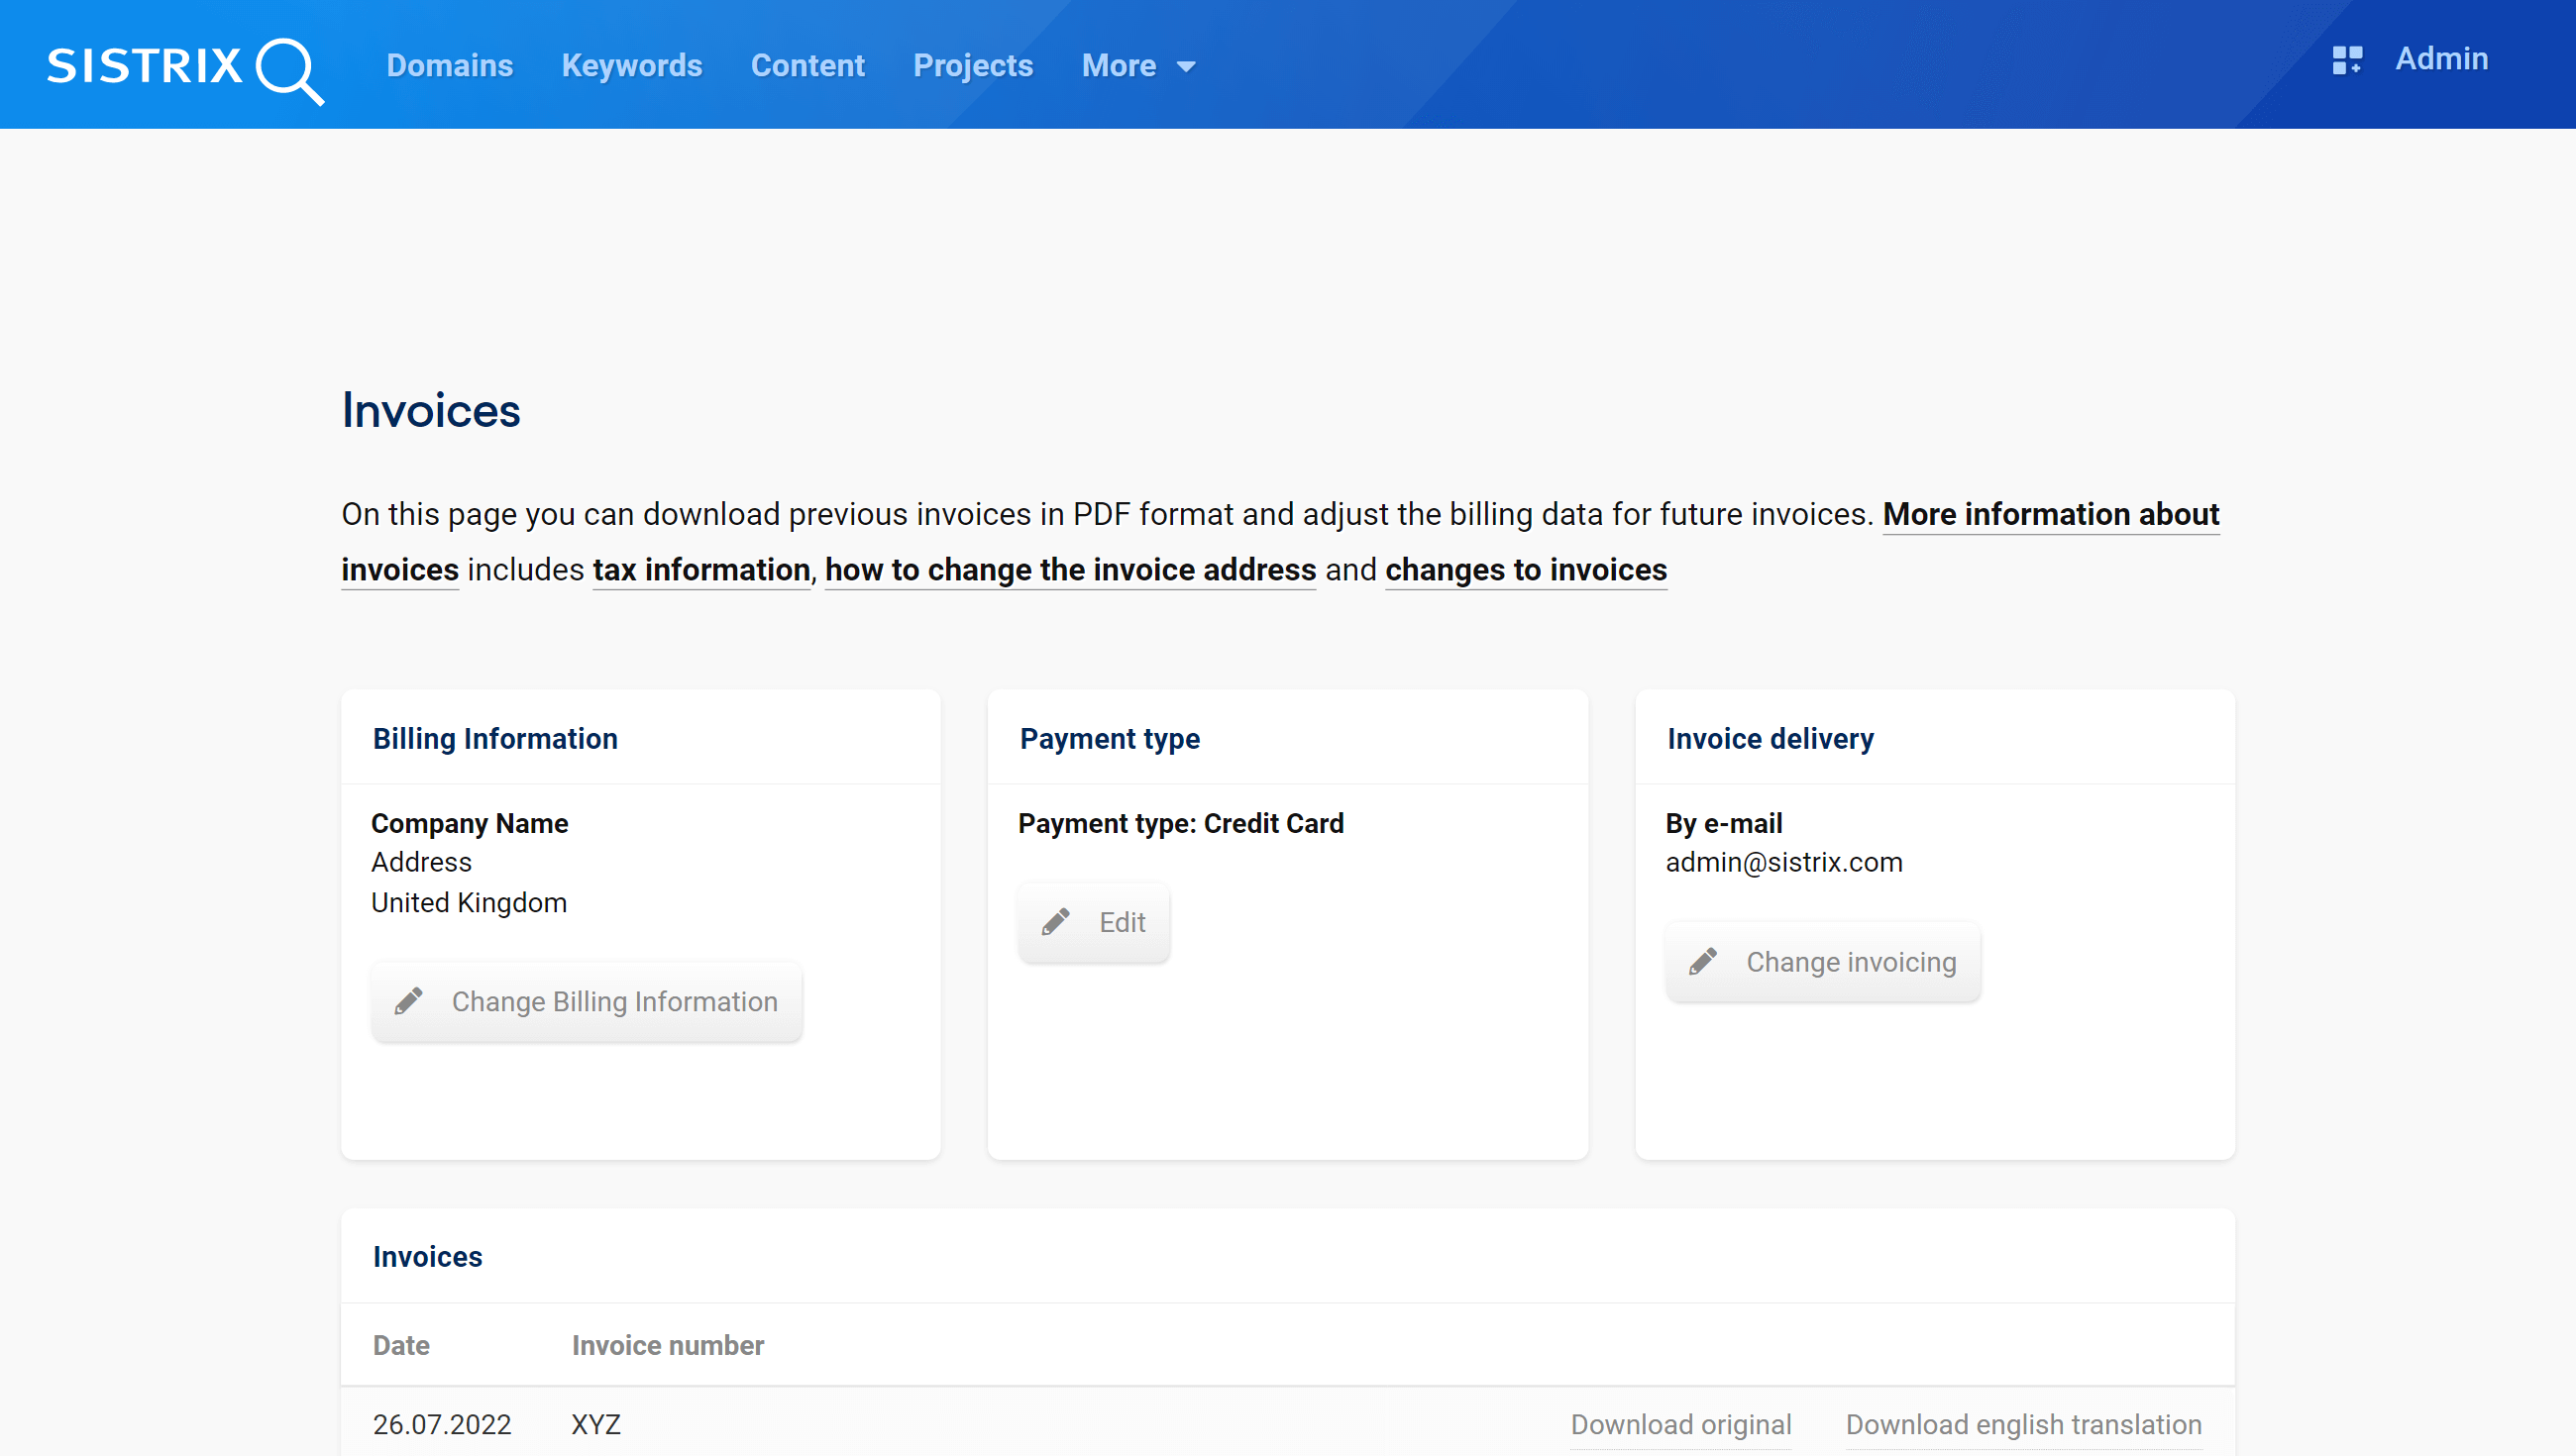
In the section “Invoices” you can adjust the billing details for your future invoices.
Here you’ll find your billing details 1 and the payment type 2 that you chose during the subscription process.
By default, your invoices won’t be sent per mail or by post. To change this setting and receive the invoice monthly in your inbox, just add your email address in the box “Invoice delivery” 3.
Finally, here you can also download your past invoices as a PDF file 4.
Useful Resources to Start Off on the Right Foot
By reading this tutorial, you now have a quick overview of some practical settings to keep in mind when starting with SISTRIX.
If you want to know more about other features and data, these resources can help you out:
- Quick-Start: Get started with SISTRIX in five minutes.
- Tutorials: Step-by-step guides for common tasks with the Toolbox.
- Handbooks: All the features and data described in detail.
- Workshops: Learn about the SISTRIX Toolbox in a free workshop.
Finally, if you have any questions, feel free to ask our support team.
You can send a message using this page or click on the “?” in the bottom right corner of the Toolbox.