
The next generation of the SISTRIX Content Assistant means you are no longer left to your own devices: Artificial intelligence will assist you all the way from keyword research to the perfect content. In this tutorial, we will show you exactly how this works.
- Creating a New Content Project
- Select the appropriate text template
- Check AI-generated outline
- The Content Assistant AI Editor
- Title and Meta Description
- Content Score
- Readability Score
- Spell and Plagiarism Check
- Keywords
- Letting the AI Write
- Text on the basis of a heading
- Text on the basis of individual words
- Advanced Settings
- Overview
- General structure & Outline
- Competitor & Keywords
- Downloading & Deleting a Content Project
- Conclusion
The AI of the Content Assistant is not just any AI: we are currently using an interface to GPT-4 from OpenAI – in combination with our database of over 100 million keywords, this creates an absolutely unique system. This means that the AI does not just write any text, but integrates relevant keyword and competitor data relating to the respective topic.
By using our Assistant AI you not only create easy-to-read and understandable content, but above all content that can be found by your users.
On a separate page you will find everything you need to know about the Content Assistant AI as well as frequently asked questions and their answers. Now, let us begin with the creation of a new content project.
Creating a New Content Project
Select the appropriate text template
Once you have opened the menu item “Content” in the upper navigation bar in your SISTRIX account, you will find the “Add a new briefing project” button there. You can also use the direct link: app.sistrix.com/content
This is the starting point of a new content project.
We have already created templates for the most important types of text in marketing and corporate communication, which the AI will later use to write the appropriate text. Choose the template that best suits your goals from the available templates. You can, of course, also begin with a completely individual text.
After you have decided on a template, you need to enter various parameters. These will help the AI write your text later on.
Using the “Listicle” template as an example, we enter the planned main keyword “restaurant” for our text as well as the topic of our article “The best restaurants in the world”. Information from the database on the search volume or similar keywords will already be displayed in the keyword input field.
Instead of entering a single keyword, you could also directly select an entire list that you have already compiled, for instance, as part of a detailed keyword research.
Below the essential input fields, you always have the option of making advanced settings. You can, for example, set the tonality, the target group or the language of your text.
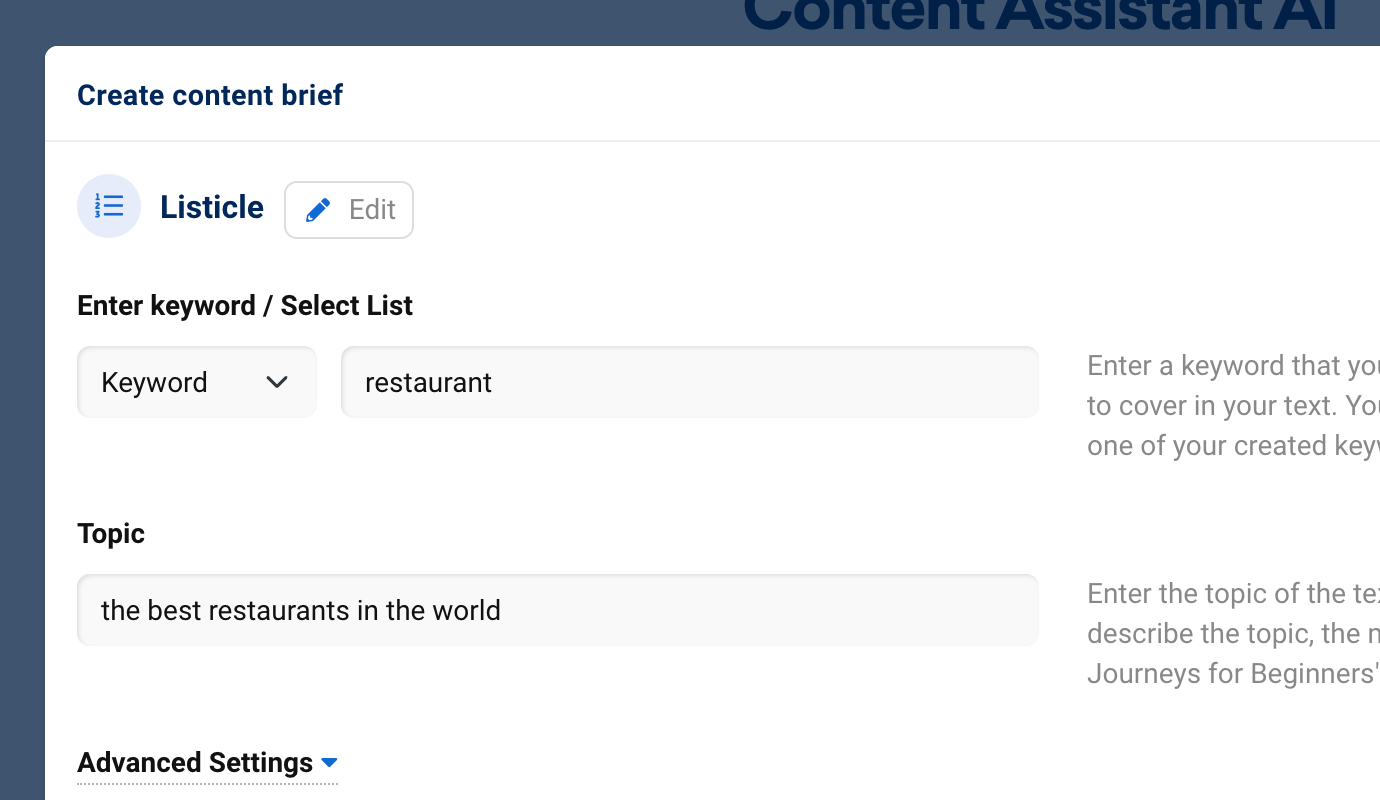
By the way: If you are no longer happy with your text template, you can easily change it again by clicking on the “Edit” 1 button.
Once you have made all settings, click on the green button: “Suggest outline”.
Check AI-generated outline
Based on the information you entered when creating the project, the AI now creates an outline for your text.
You can adjust this as you wish – move the headings, add more headings, or adjust the text. You can also use the “Create new suggestion” button to generate a completely new outline.
If the outline meets your expectations, you can click on the green button “Accept suggestion and start the editor” to go directly to the editor. Alternatively, you can also first work on the briefing settings for your content project. This is especially important when you want to write the text with a team rather than alone. We will go into the advanced settings in more detail later.
The Content Assistant AI Editor
The Content Assistant AI editor is divided into two sections:
- On the left-hand side, you edit your text. Add headings or text blocks, change blocks from H1 to H2 and format your text.
- On the right-hand side you will find metrics, ratings and help for text creation. Make your text easier to read, cover all relevant keywords, and check the text for plagiarism.
Let us take a closer look at individual features before we use the AI again to help us write texts:
Title and Meta Description
SEO work also entails writing a good title and a suitable meta description for a page. The best way to create a snippet is to use our free SERP Snippet Generator. There, you can directly see in a preview how your snippet could look like.
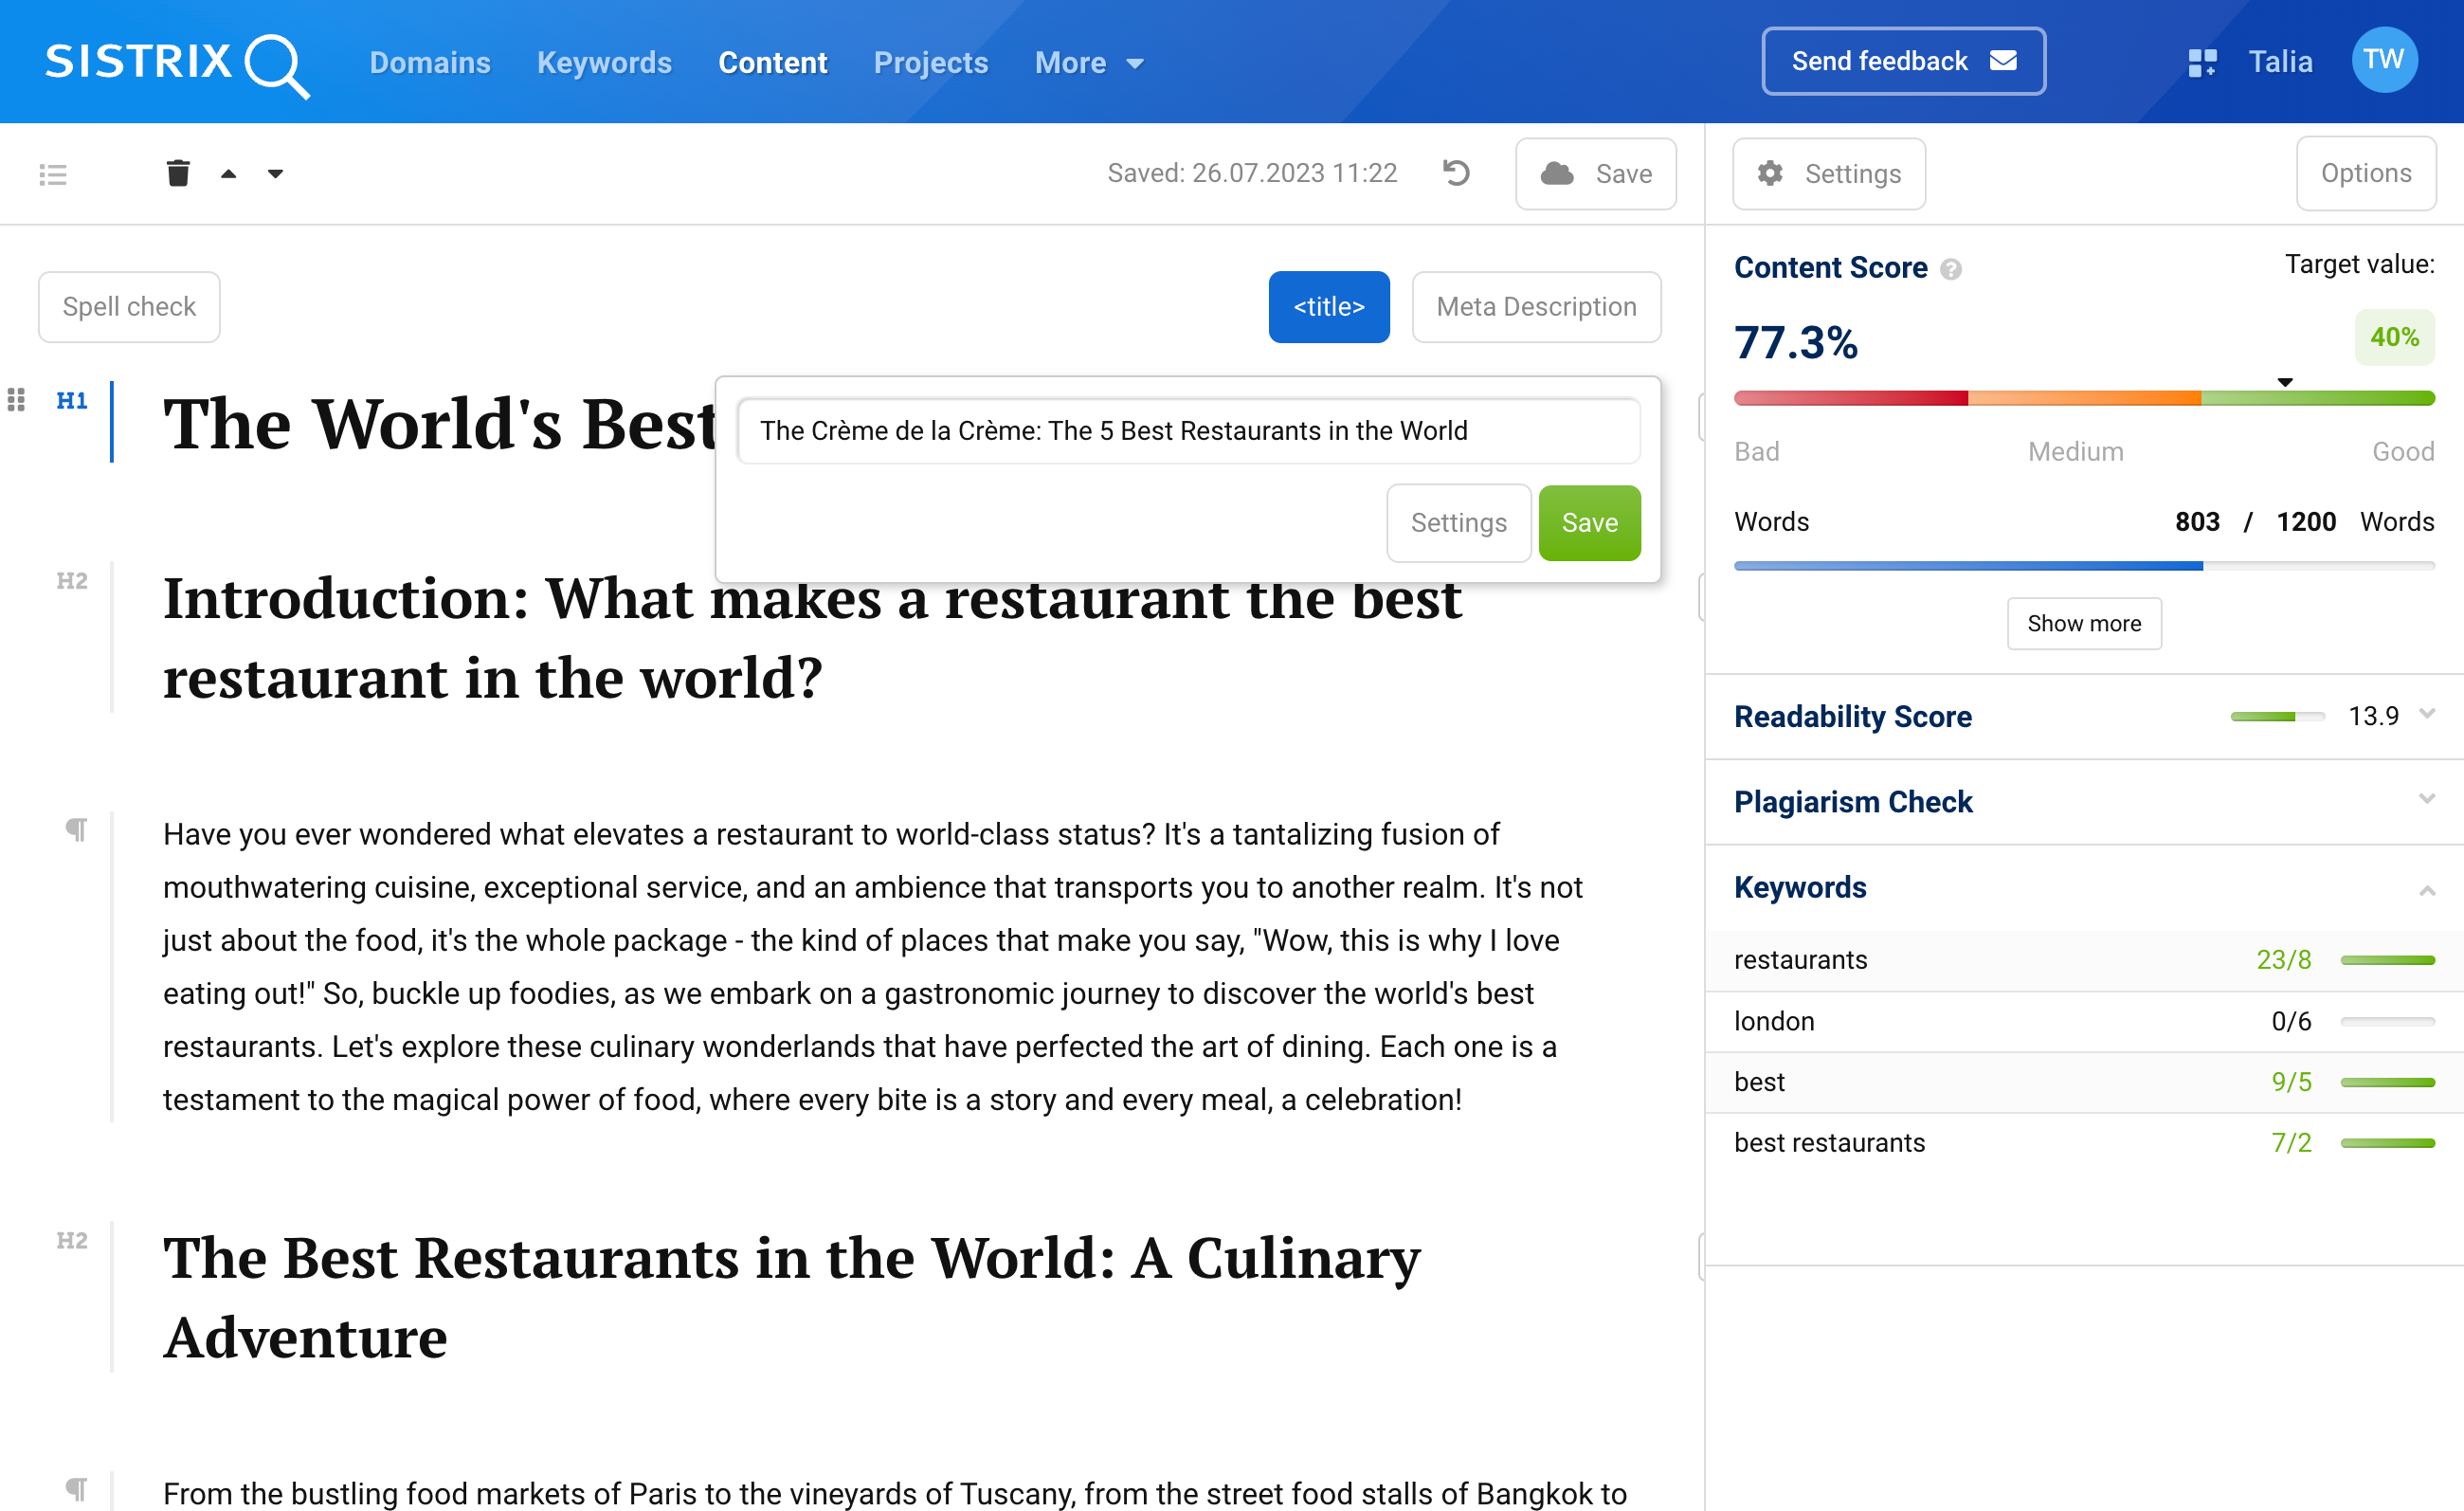
In order to be able to download everything together later, you can enter the title and meta description in the content editor using the buttons above your text 1.
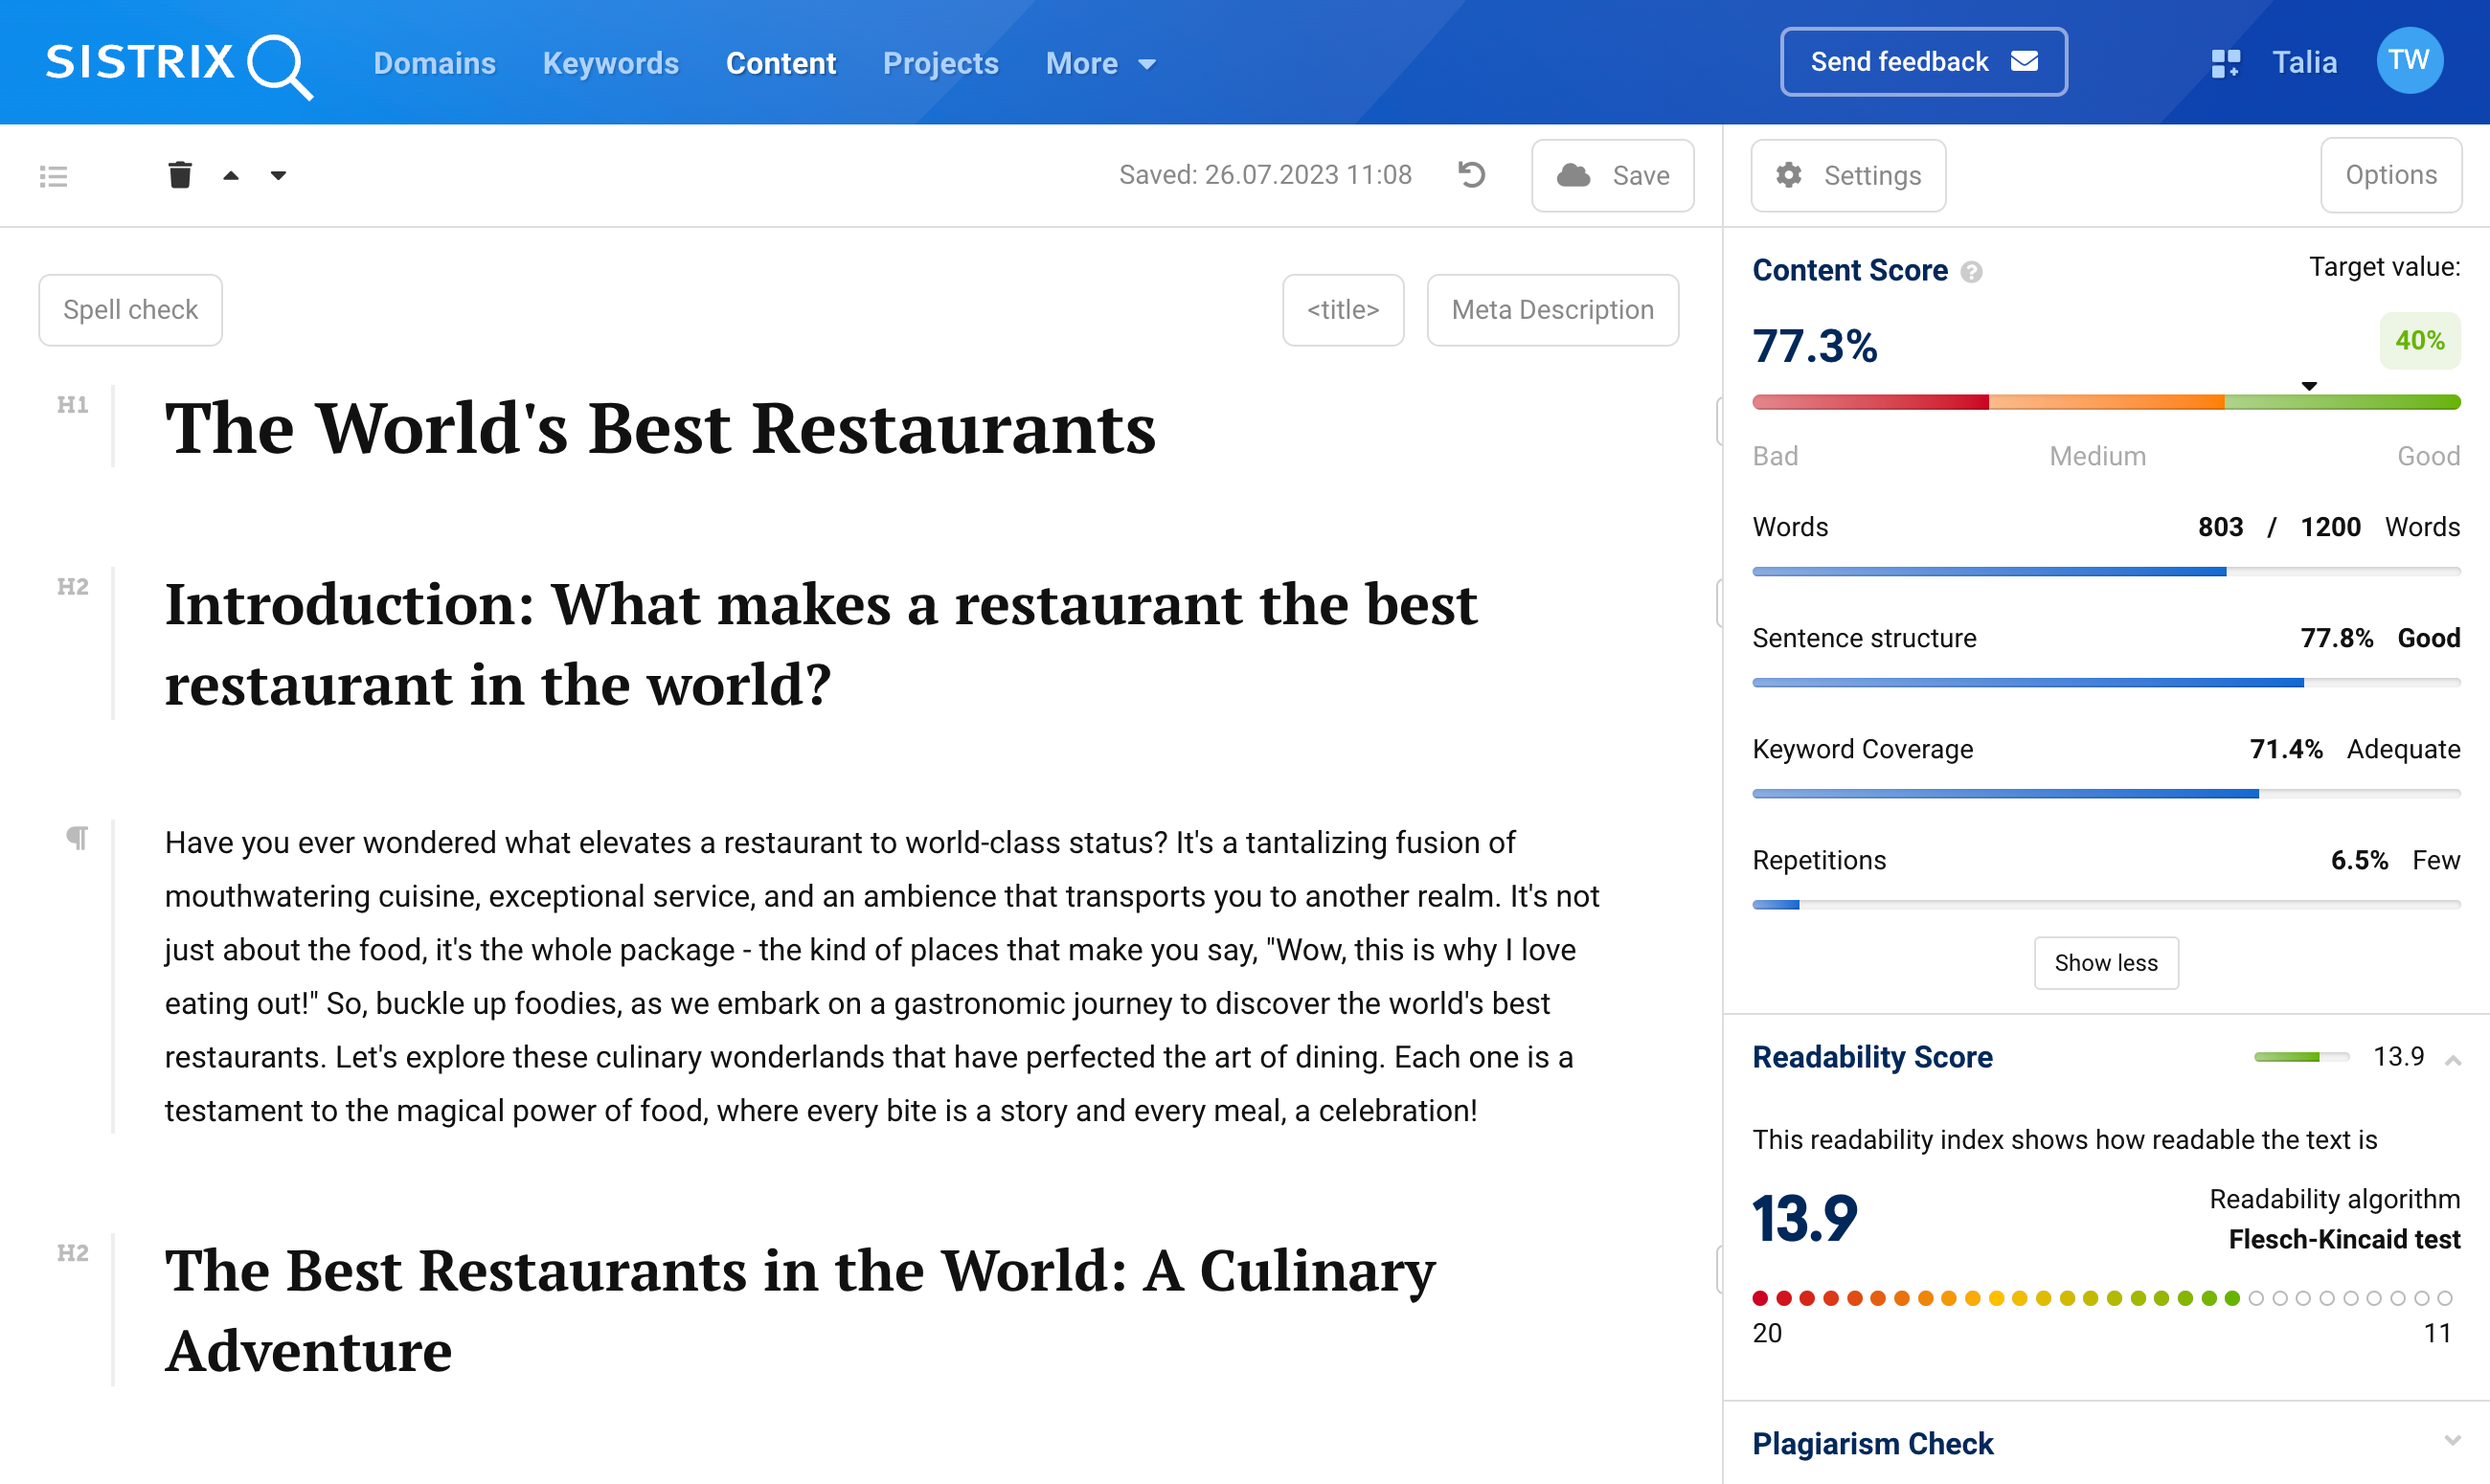
Content Score
Depending on the selected text template and the advanced settings, the target values of the content score change. Here you can see at a glance how many words are missing for the perfect listicle, how good your sentence structure is or how many of the desired keywords you have already covered. You can change the parameters in the settings.
Readability Score
The best-known readability algorithms are provided in the Content Assistant AI. By default, the Flesch-Kincaid Grade Level is set, but you can also select another index such as the SMOG index or the Coleman-Liau index in the settings.
Spell and Plagiarism Check

To help you find and correct errors before you download and publish your text, there is a spell checker in the content editor. Activate it at the top left of your text and improve your text.
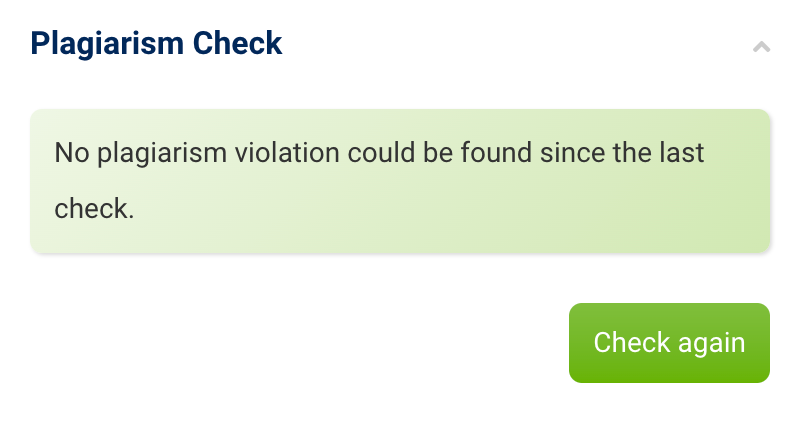
With the built-in plagiarism check, you can find out whether your text is already found on other pages in this or a similar form. Use the checker to keep your content as unique as it deserves to be.
Keywords
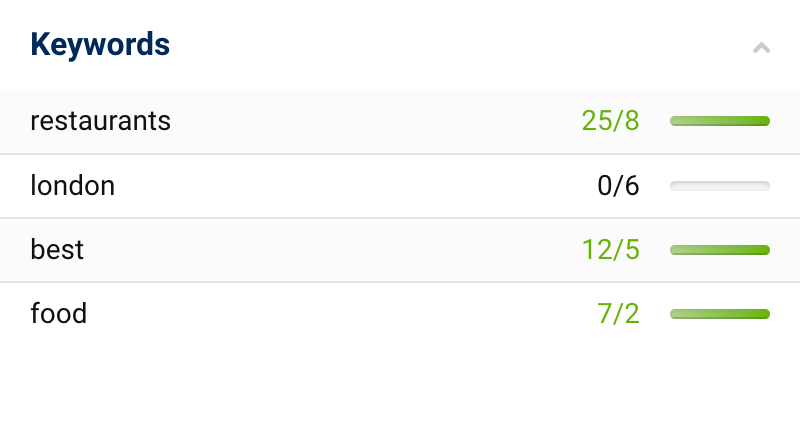
The AI has already filtered out and selected relevant keywords for your text based on your focus keyword (or keyword list), the topic of the text and our database, and set a frequency that can help the visibility of your text.
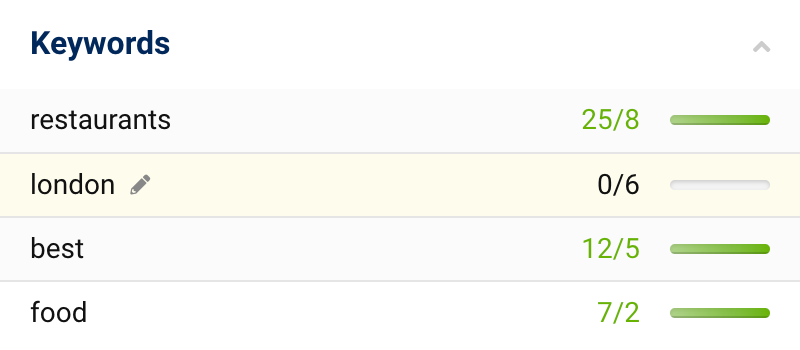
Move the mouse over the keywords and click on the pencil icon 1 to go directly to the settings and edit your keywords there.
Letting the AI Write
First, the AI helped you set the parameters for your text and create a structure. Now, you could write all the text yourself. However, you could also have the AI help you again here either on the basis of a heading or based on individual words in a section of text:
Text on the basis of a heading
If you click on the magic wand next to an existing heading or on the heading itself, a bar with three options appears:
- Help me write: The AI writes a paragraph of continuous text that fits this heading.
- Help me write (with keywords): The AI writes a paragraph of continuous text but you can pick specific keywords that the AI should include.
- Brainstorm Ideas: A list of 10 content ideas for this heading is created.
- Pro’s and Con’s List: The AI suggests 5 pros and 5 cons related to the heading.
Based on this, you can then create further content.
Text on the basis of individual words
If you have already written text which the AI should continue working on, simply highlight the relevant words or sentences. A bar with three options will appear again:
- Continue writing: The AI will add on to the existing text.
- Re-write the text: The AI will rephrase the highlighted text in other words.
- Execute AI: If you would like, you can ask a question or give an instruction and have the AI execute this command.
Advanced Settings
There are two ways you can reach the advanced settings: Either by clicking on “Advanced Settings” instead of going directly to the editor when creating the project…

…or by clicking on the button “Settings” 1 at the top right to open the settings from within the editor.
The settings allow you to create a briefing for your content project or to adjust it, and to edit the keywords and competitors pre-selected by the AI. Let us first take a look at the briefing.
Overview
With the help of a briefing you can define the framework conditions of your content project for yourself, or especially for team members or external authors.
In the settings under “Overview” you can, for example, assign responsibilities, set a publication date or describe the content to be created in more detail. You can also add people who do not have their own SISTRIX account as authors here. They will then only have access to the Content Assistant editor of the projects released for them.
Use the small question marks above the boxes to get more detailed explanations of the functions of the input fields.
General structure & Outline
Under “General structure” you define the content settings. For example, how many words your text should have, the target content score or which readability index should be used to evaluate your text.
Below that you will find the options for the title and meta description of your text. Here, too, the AI takes work off your hands and has already collected some suggestions that you can use.
Select a suggestion, click on “Apply” and edit it further if necessary. The keywords on the right-hand side can serve as a guide. Drag and drop them into the corresponding field so that you don’t forget them.
In the settings under “Outline” you can create an individual outline for your text. On the right-hand side, you will find questions and keywords that have been compiled based on the content of successful competitors. They can help you with the wording of the headings.
With the light bulb icon in each heading input field, you can also have the AI make suggestions for individual headings.
Competitor & Keywords
Under the item “Competitor” you will find a list of all pages that have been analysed as potential competitors for your content project. Activate or deactivate them according to their “real” relevance to you. The competitors show you what your content could look like.
Under “Keywords” you will find a list of keywords that could be relevant to your text, similar to the list of competitors. You can also activate or deactivate these if you decide that you want to use them in your text or not.
Downloading & Deleting a Content Project
Once you have finished writing your text (or had it written for you), corrected all errors and checked it for plagiarism, it’s ready for publication. Use the export feature under “Options” at the top right of the editor to do this. Conveniently download your text including title and meta description as a PDF, DOCX, TXT or HTML file and use it where you need it.
If you want to delete a content project because you no longer need it, open the project settings and click on “All briefings” on the left. There you will find a list of all your projects. Use the checkboxes to select all those you want to delete and click on “Delete all selected elements”.
However, you can only delete projects one month after you have created them. You can tell if this is the case by whether a checkbox is visible or not.
Conclusion
Although there is no ready-made formula for the perfect SEO text, the SISTRIX Content Assistant AI supports you in the best possible way towards optimal content for your topic.
AI does know a lot, but you should be the one with expert knowledge. In times of E-E-A-T, this is the only way you can check whether everything is really correct and the content is what your users expect.
Besides: Not just the pure text, but also other content formats will help you fulfil the search intent of your users and thus rank consistently in the first places on Google.